Photo by Out Of Focus | Title - A Brief Tutorial - Different Exposures
f8.0 | focal length : 11mm | ISO 100 | shutter speed : various | flash : not fired
 | Description |
Since I ran out of photos, I thought I'd do a tutorial.. hehe.
oXp asked me the other day about one of my photos on different exposures and how I did it which was quite funny because he was the one who suggested I do it. He's a man of many ideas but getting there takes a bit of help..
Anyway, I wondered if the guys who are following this site follows what I mean when I say I use different exposures. Hence this post.
| So what's it about..? |
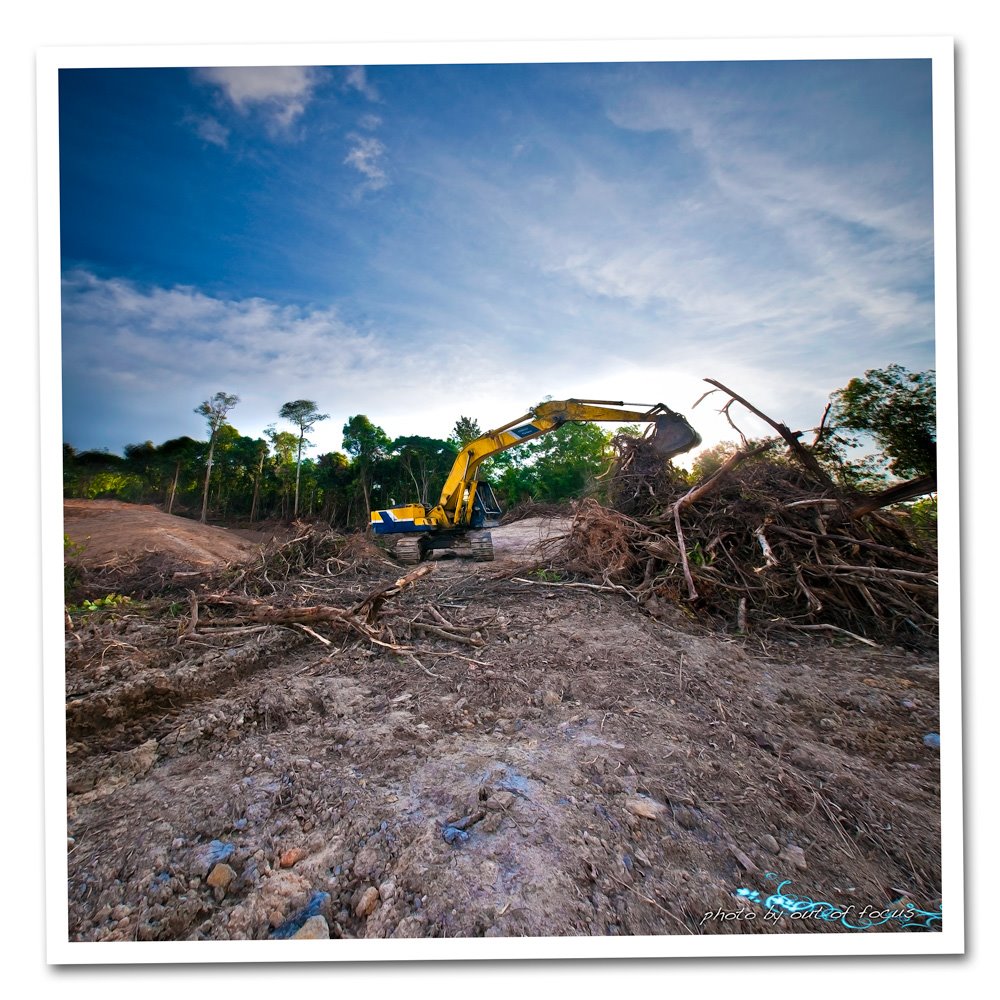
What usually happens when you take photos with the sun in front of you is that the subject would either be too dark or the background too bright so to correct it, I use different exposures.
| So on with the show... |
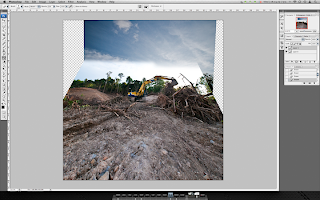
You've seen this photo before because I posted it a while ago..
It was shot using a shutter speed of 1/200th of a second for the ground which is the correct exposure but too bright for the skies and 1/1250th of a second in correcting for the skies but too dark for the ground.
 [click image for larger]
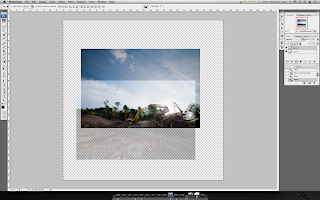
Place the ground layer on top of the sky layer.
Set the opacity of the ground layer to about 50% so that you can see through it when you align the photos together. This one was a bit difficult because the excavator has moved but don't worry so much. It doesn't have to be exactly aligned, however if you can have it exactly correct, it'll be a bonus.. and if you can do it, you got to tell me how because I can't.
 [click image for larger]
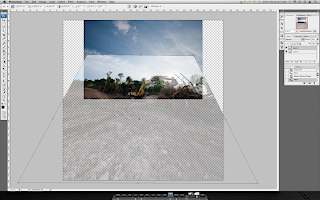
Since I'm using a wide lens, I have to do some stretching on mine.
 [click image for larger]
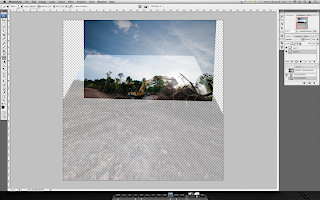
Now that you have them (roughly) aligned, set the opacity back to 100% and slowly erase the ground layer's over exposed skies to reveal the corrected one. Start with a big brush with an opacity of about 60% then when you get closer to the tree areas, set it lower to 40% then 20% and use a smaller brush.
 [click image for larger]
When you're done, merge the layers then stretch them to fill the canvas and flatten. That's it you're done!! You can then start fine tuning your photos to colors, saturation and levels and all the other stuff you usually do.
All this takes time and patience. Don't rush into it. You'll be more satisfied with the results if you just be patient.
You can also do it with one photo (non vertorama) having tweaked a single photo to correct the background then save it and then tweaked again for subject then save as another file, place them on top of each other and start erasing but I suggest using a tripod and take 2 different exposures instead..
| One other thing.. |
Ada fahaaaaaaam....? Heheh!! Hope you understand what I mean now..
 | Description |
Since I ran out of photos, I thought I'd do a tutorial.. hehe.
oXp asked me the other day about one of my photos on different exposures and how I did it which was quite funny because he was the one who suggested I do it. He's a man of many ideas but getting there takes a bit of help..
Anyway, I wondered if the guys who are following this site follows what I mean when I say I use different exposures. Hence this post.
| So what's it about..? |
What usually happens when you take photos with the sun in front of you is that the subject would either be too dark or the background too bright so to correct it, I use different exposures.
| So on with the show... |
You've seen this photo before because I posted it a while ago..
It was shot using a shutter speed of 1/200th of a second for the ground which is the correct exposure but too bright for the skies and 1/1250th of a second in correcting for the skies but too dark for the ground.
 [click image for larger]
Place the ground layer on top of the sky layer.
Set the opacity of the ground layer to about 50% so that you can see through it when you align the photos together. This one was a bit difficult because the excavator has moved but don't worry so much. It doesn't have to be exactly aligned, however if you can have it exactly correct, it'll be a bonus.. and if you can do it, you got to tell me how because I can't.
 [click image for larger]
Since I'm using a wide lens, I have to do some stretching on mine.

 [click image for larger]
Now that you have them (roughly) aligned, set the opacity back to 100% and slowly erase the ground layer's over exposed skies to reveal the corrected one. Start with a big brush with an opacity of about 60% then when you get closer to the tree areas, set it lower to 40% then 20% and use a smaller brush.
 [click image for larger]
When you're done, merge the layers then stretch them to fill the canvas and flatten. That's it you're done!! You can then start fine tuning your photos to colors, saturation and levels and all the other stuff you usually do.
All this takes time and patience. Don't rush into it. You'll be more satisfied with the results if you just be patient.
You can also do it with one photo (non vertorama) having tweaked a single photo to correct the background then save it and then tweaked again for subject then save as another file, place them on top of each other and start erasing but I suggest using a tripod and take 2 different exposures instead..
| One other thing.. |
Ada fahaaaaaaam....? Heheh!! Hope you understand what I mean now..

3 comments:
Yes, i've done this before..
Somehow some part of the tutorial part you make it simpler than my workout.
Mine's is a lot of work done to it..
Then it takes me one whole day, to think of the possible outcome to my pics. i would do several task with the said pics then editing it with lots of workout. Only when i feel it's right then i flatten the images.. if not i redo the whole thing, clear out my thought & process the image again...
No wonder my pics..is late to be view..
u've made one step easier..
But then i've got no pics..
Due to the weather is unappropriate for photographing at this time..[berjerubu, open burning] so i'll postponed the outings until the weather is fine again...
Thanks for the Tutor...
I'll send in a ChQ B$1.00 heheh..
*whew* I was beginning to think that maybe I was wasting my time writing this up due to no response.
Thanks man, I hope it works out ok for your next try..
scratch scratch scratch..
Heads spinning, temper flaring..
You make it look simple..
While i have a hard time rubbing my shoe.. hehehe...
Thanks again u've been a great Tutor..
It's F.O.C so i'm copying & paste the whole thing.hahah..
Post a Comment